APAW Week 13: Raycasting In 150 Lines Of Zig
Introduction
This week I decided to give Zig another go, as I had previously been very critical of it and I wanted to make sure I wasn’t too harsh.
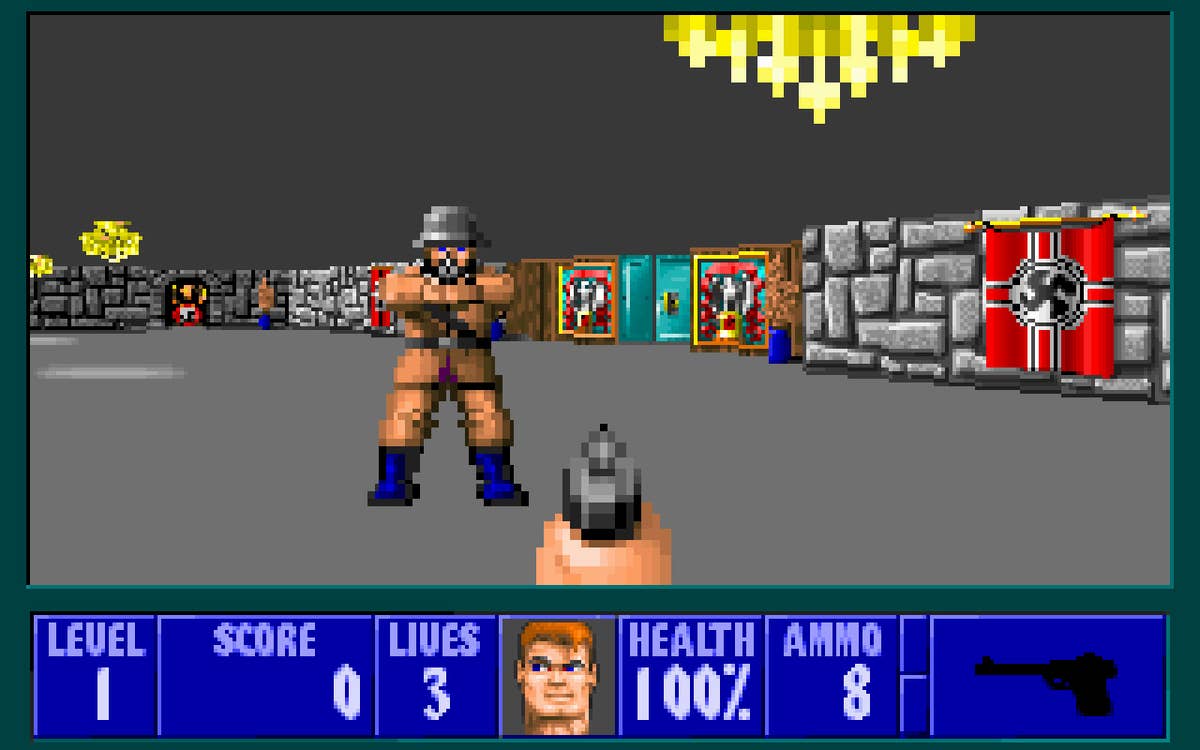
I decided I would write a raytracer, a program that renders a 2d world in psuedo-3D, a technique popularized by ID Software’s Wolfenstein 3D.

A screenshot of Wolfenstein 3D
The git repo associated with this project can be found here.
Did I Change My Mind On Zig?
I would say that I’m a little bit more convinced on Zig now. I get more of how it works, its design philosophy, and why it works the way it does. I’ve found better ways to get help with the language and I think it can be a viable replacement for a majority of my C/C++ use cases. Having said that I still had some issues:
1.) Zig Format
zig fmt, the Zig standard formatter, would ‘unsplit’ my longer lines, making huge monstrous lines e.g.
var rayDirection = rl.Vector2{
    .x = -@cos(playerAngle + viewAngle),
    .y = -@sin(playerAngle + viewAngle)
};
would become
var rayDirection = rl.Vector2{ .x = -@cos(playerAngle + viewAngle), .y = -@sin(playerAngle + viewAngle) };
which led to lots of ugly looking code
2.) Language Design
The language design of Zig still has some warts, particularly I dislike how intrinsics that are treated specially by the compiler are flagged to the end user. Any of these ‘special functions’ that the compiler performs per-platform assembly instructions for are prefaced with a ‘@’ for example ‘@cos’, which is useless noise and creates confusion when there is also std.cos for example.
3.) The Build System
Zig’s build system is definitely an improvement over C and C++ but it still feels slightly painful compared to Rust and other modern contemporaries. I think Zig is working on this well, such as by introducing a package manager, but the package manager still needs to be adopted widely (I used raylib-zig to draw the 2D graphics in this project, and it hasn’t switched yet) and other improvements to the general build specifications need to be made.
How Raycasting Works
Raycasting is very simple, which is part of its beauty:
1.) Start at some start angle to the left of the character’s view (30 degrees to the left in our case)
2.) Shoot a ray and see if it hits a wall or not
3.) If so draw a line vertically on the screen, with the line being taller the shorter the distance the ray travelled
4.) Turn the start angle 1 degree and repeat, repeat this process for all view angles to paint the scene
The Result
Here is a video of the final raytracer:
Future Improvements
There are many ways I want to expand this project further, it has a lot of potential:
- Add support for textured floors and walls
- Add enemies and shooting
- Implement raycasting into an existing game to add a first-person viewpoint
- Implement the more advanced binary-space partitioning algorithm used by Doom, Wolfenstein 3D’s successor