3 Tips For Using The Tiled Map Maker Productively
This article details tips for using Tiled, a generic map editor for game development, as part of the workflow with a game engine. The advice comes from my experience using Love2D, a Lua based game engine.
1.) Create Tilesets Separately
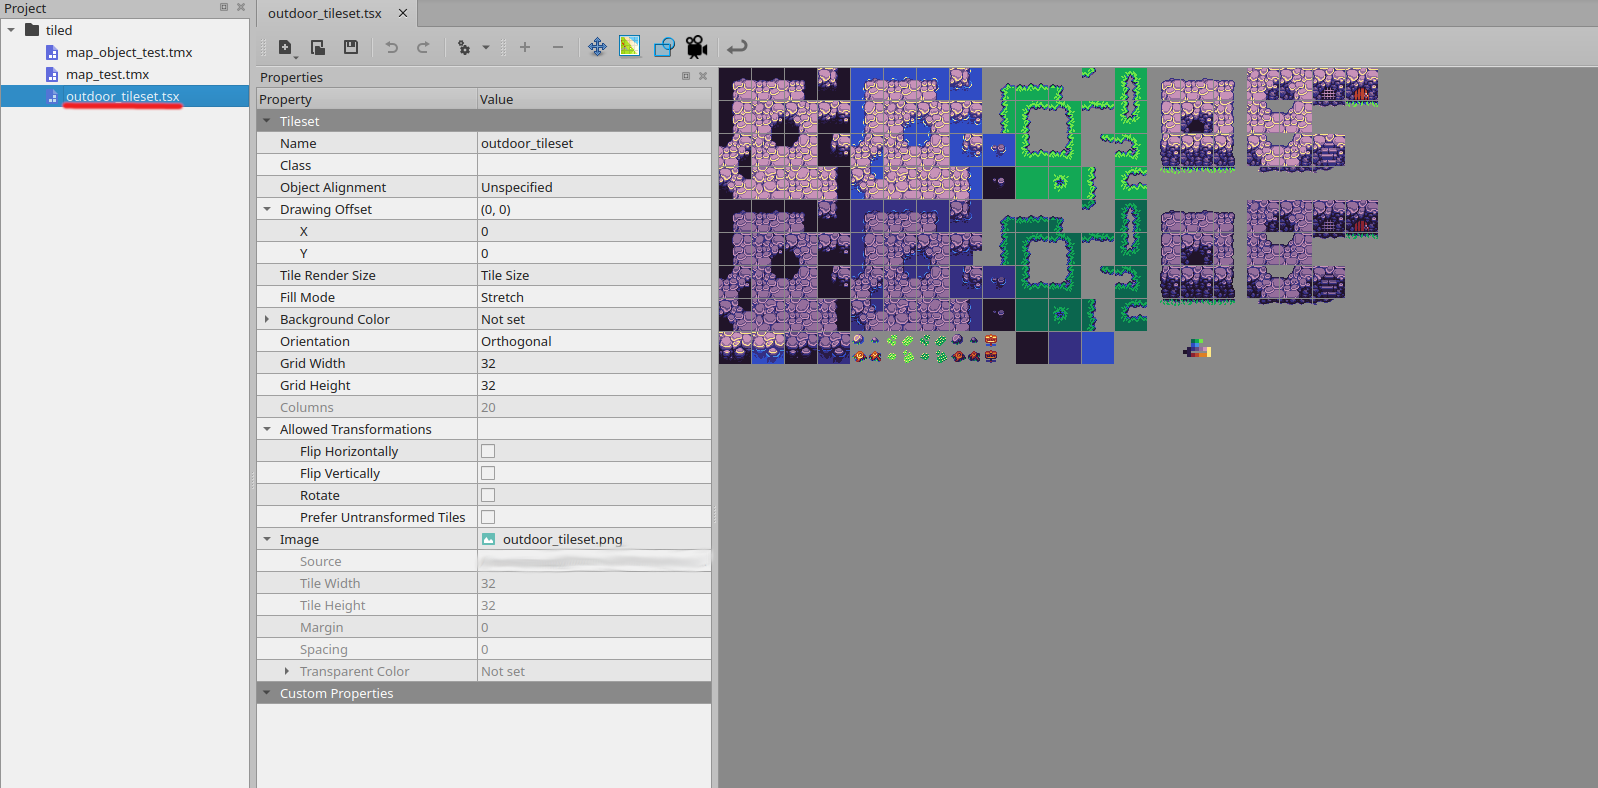
In Tiled a tileset (the set of cube like images used to construct maps) can be created in two ways:
- As an embedded asset in a map
- As a separate file that is then linked to a map

The choice to create a separate tileset is a must for most workflows, despite the ease an embedded tileset brings. By using a separate file to hold the tileset it can be reused between maps, along with any data tags applied to the tileset (e.g. for collision), speeding up mapping and reducing data duplication.
2.) Create Object Templates
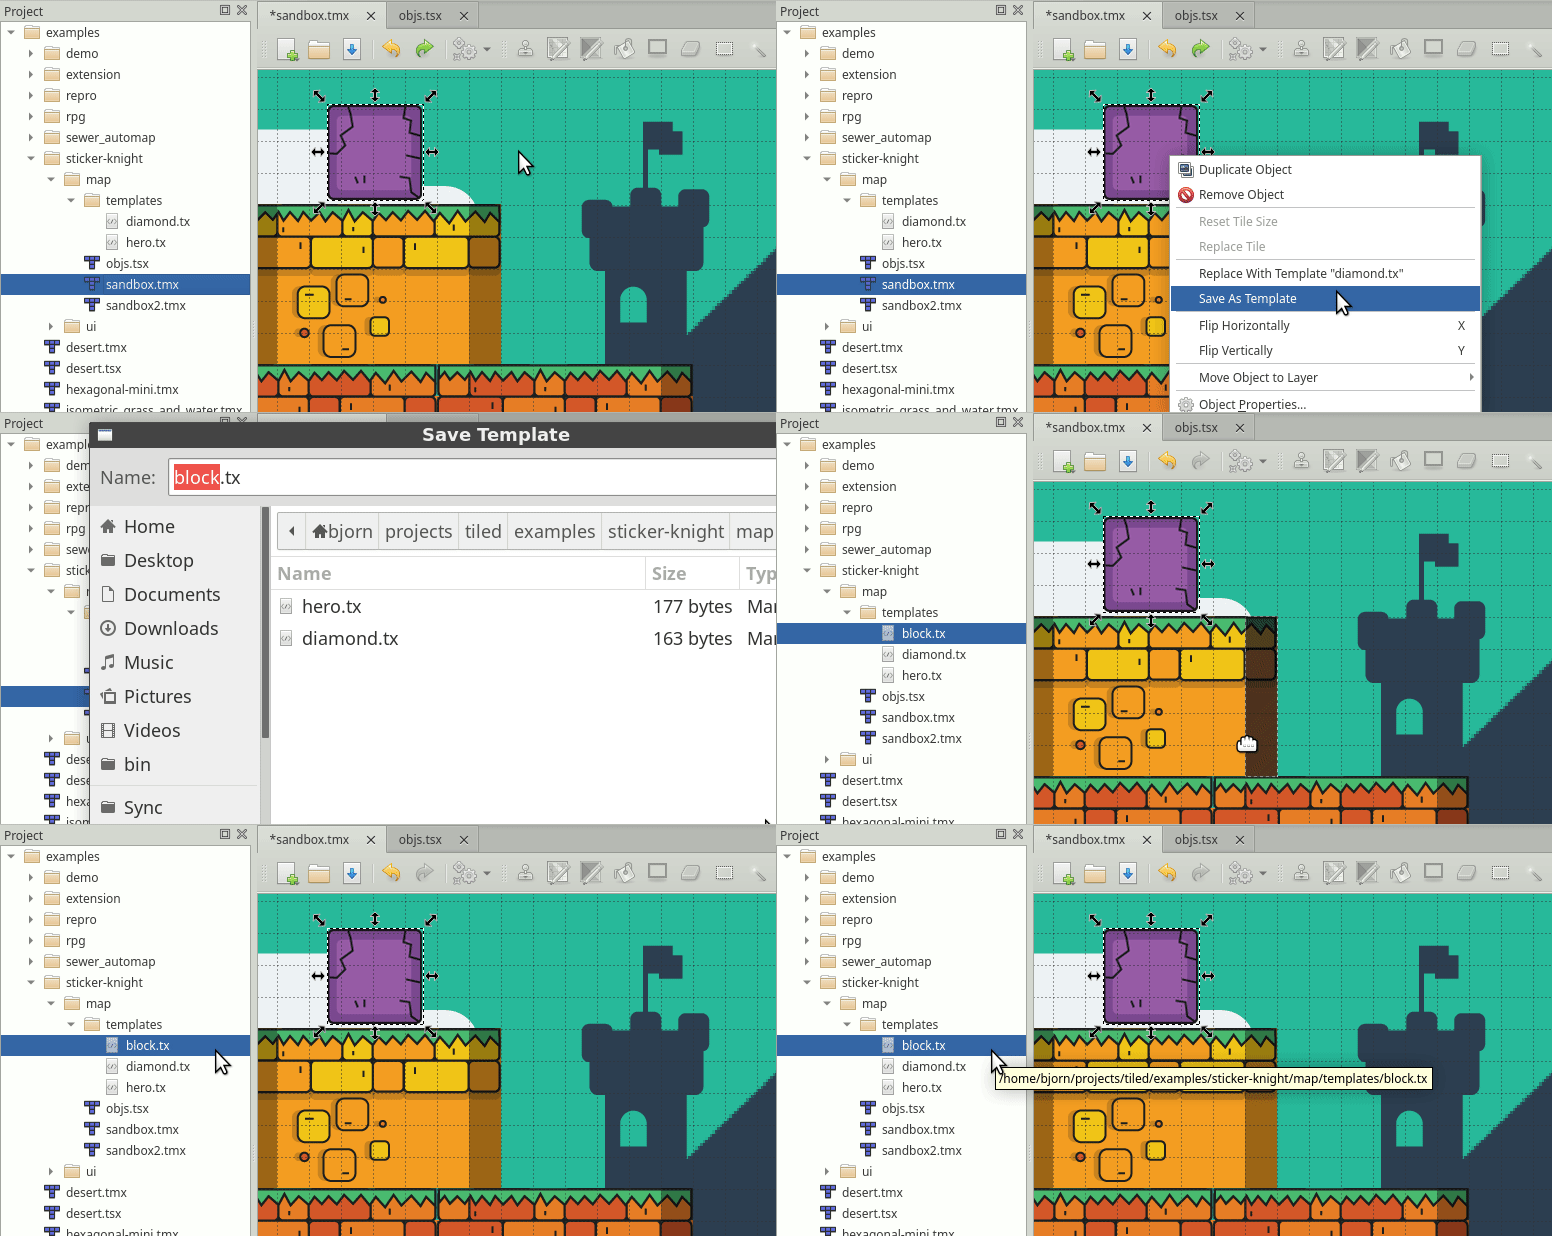
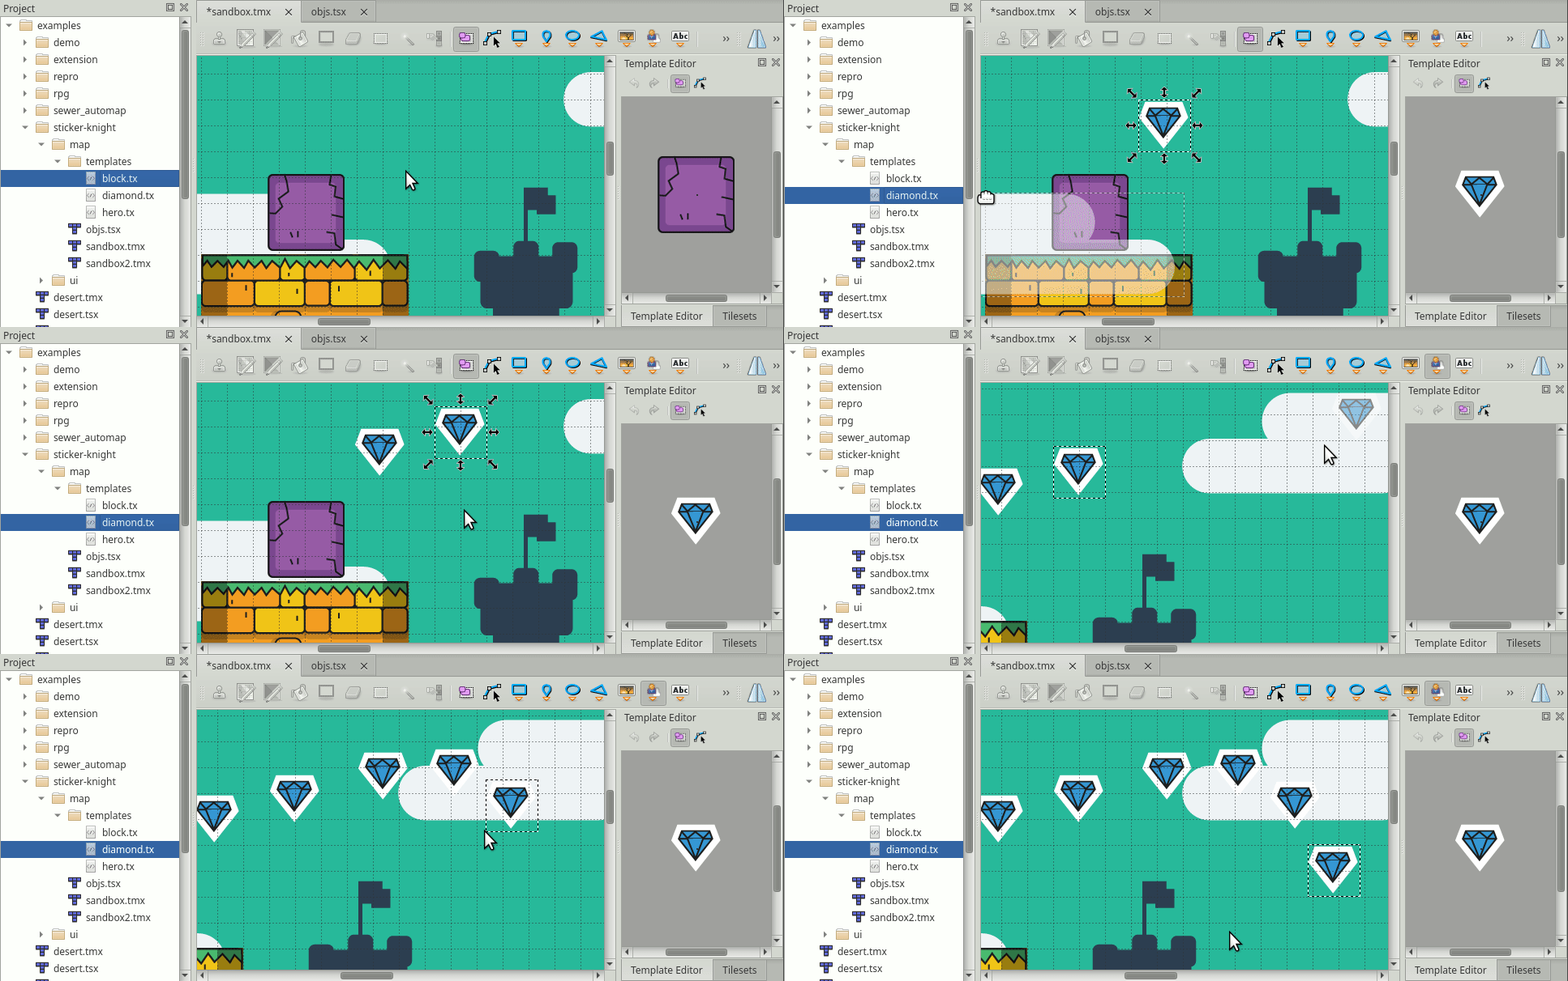
When creating objects on a map for the first time you will need to specify details like art, size and custom properties. Doing this repeatedly for multiple similar objects can be slow, and you may wish to reuse objects between maps. This is where Object Templates are useful.

By creating a template you can easily reuse the objects, modifying the copies in each instance. To place a template enter object selection and press ‘V’ or select the icon of a character that’s labelled ‘Insert Template’.

3.) Set Tile Properties
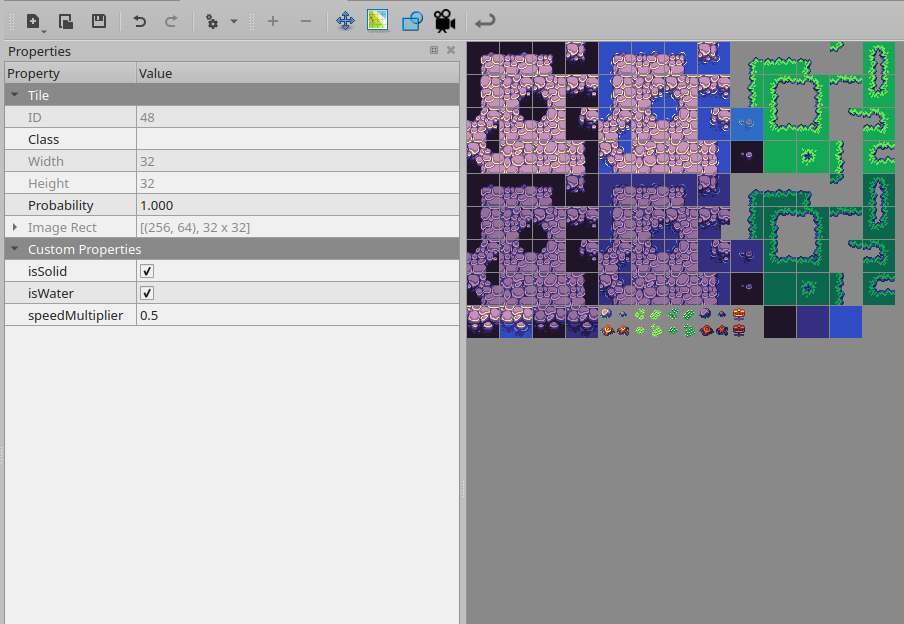
The ability to set tile properties is extremely valuable. It allows individual tiles to encode information such as if they are solid, if they are water, or even complex traits such as the players speed when walking on them. Tile properties are a large part of the motivation for the separate tilesets discussed in tip 1.

Conclusion
Those were all of my tips for getting started in productive map making in tiled! I wanted to bring them all together in one place because starting out using the tool I found it very inconvenient, and I had to make a lot of mistakes and read a bit of documentation to being being productive.